How to Clean and Maintain Your Toaster: Simple Steps for Long-lasting Performance

Toasters are one of the most frequently used kitchen appliances, often pressed into service multiple times a day for breakfast, snacks, and even dinner. Despite their daily use, toasters are often neglected when it comes to cleaning and maintenance. Over time, crumbs, grease, and other debris can build up inside the toaster, leading to poor performance, uneven toasting, and even safety hazards such as the risk of fire. Regular cleaning and maintenance not only ensure that your toaster functions at its best but also prolong its lifespan, saving you from the hassle and expense of frequent replacements. In this comprehensive guide, we will explore the step-by-step process of cleaning your toaster thoroughly, as well as provide essential tips for maintaining it in top condition. By following these guidelines, you can enjoy perfectly toasted bread every time and keep your kitchen safe.
The Importance of Regular Toaster Maintenance
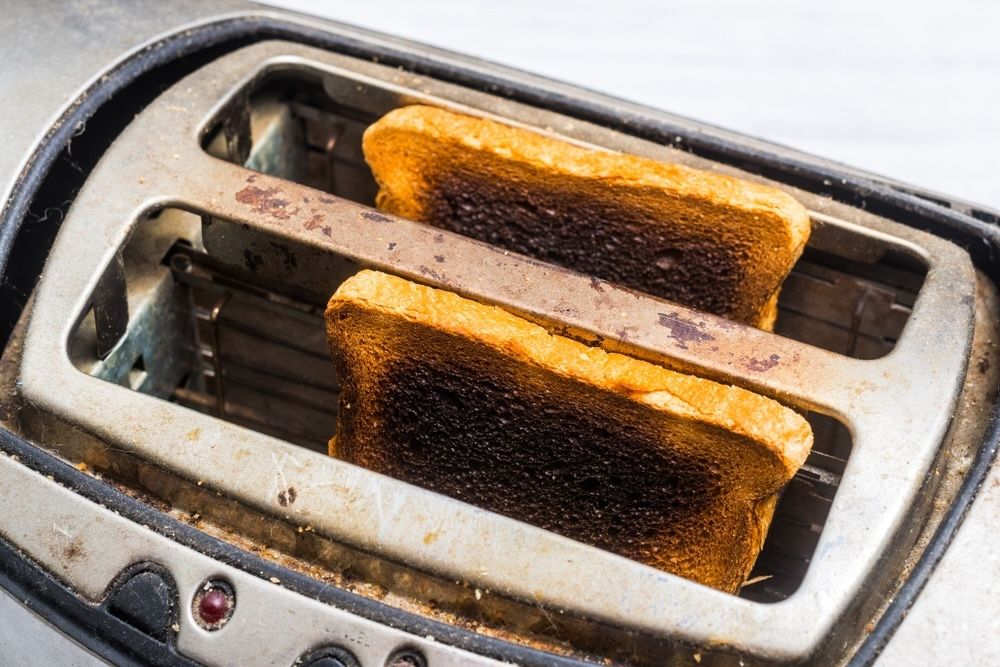
The toaster is a workhorse in the kitchen, but it's often taken for granted. Many people don't realize that the simple act of toasting bread generates a significant amount of crumbs, which can accumulate over time and cause a variety of problems. When crumbs are left to build up inside the toaster, they can burn during use, producing an unpleasant smell and affecting the taste of your toast. Moreover, these crumbs can obstruct the heating elements, leading to uneven toasting where one side of the bread may be burnt while the other remains undercooked. In more severe cases, the buildup of crumbs and grease can pose a fire hazard, as they can ignite when exposed to the high heat generated by the toaster.

In addition to crumbs, grease and other residues from buttered bread, pastries, or other food items can accumulate on the interior surfaces of the toaster. This buildup can attract dust and dirt, further compromising the performance of the toaster and creating a breeding ground for bacteria. Regular cleaning helps to remove these contaminants, ensuring that your toaster operates efficiently and safely. Furthermore, maintaining your toaster can prevent the need for costly repairs or replacements, as many issues caused by neglect can be easily avoided with routine care.
Step-by-Step Guide to Cleaning Your Toaster
1. Unplug and Cool Down
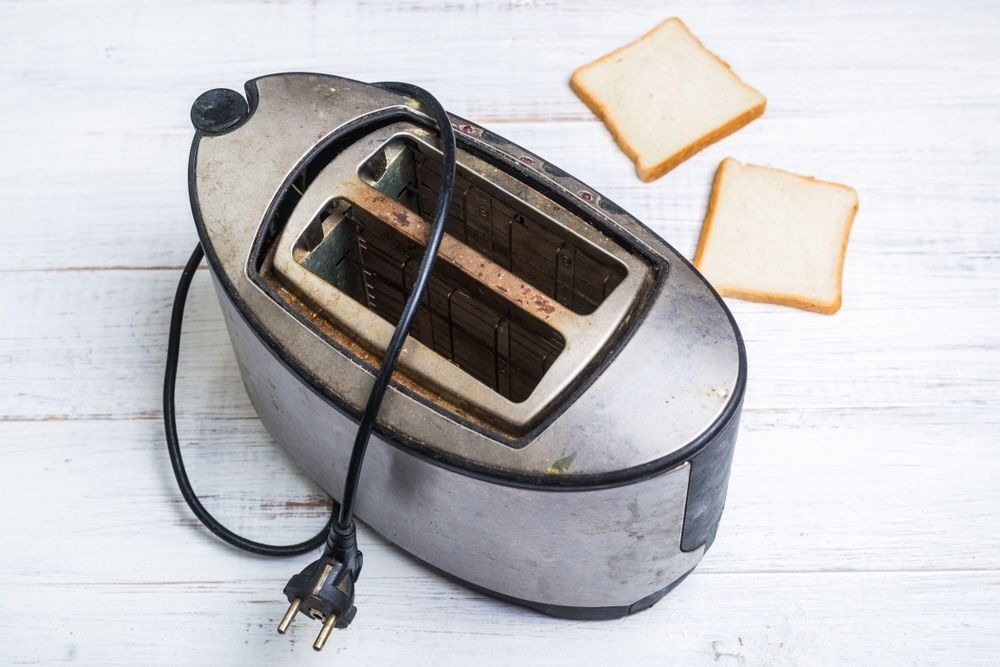
Before beginning any cleaning process, it is crucial to ensure your toaster is unplugged from the electrical outlet. This step is vital for your safety, as it eliminates the risk of electric shock while you clean the appliance. Additionally, you should allow the toaster to cool down completely before handling it. Toasters can become extremely hot during use, and attempting to clean or disassemble a hot toaster can result in burns or other injuries. Patience is key—wait at least 15-20 minutes after the toaster has been used before starting the cleaning process. If you’re unsure whether the toaster has cooled sufficiently, gently touch the exterior to check for residual heat.
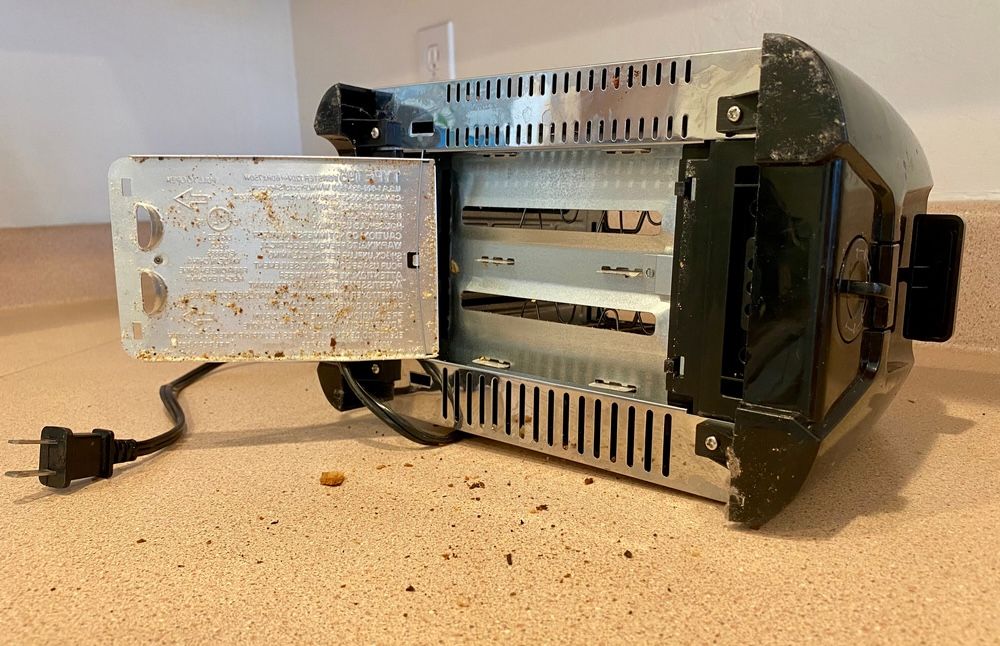
2. Remove and Clean the Crumb Tray
Most modern toasters are equipped with a removable crumb tray, designed to catch the majority of crumbs that fall during the toasting process. This tray is typically located at the bottom of the toaster and can be easily slid out for cleaning. Removing and emptying the crumb tray should be your first step in the cleaning process. Carefully slide the tray out and tip it over a trash can to discard the accumulated crumbs. If the crumbs are stuck to the tray or if there is any grease buildup, wash the tray with warm, soapy water. Use a sponge or soft cloth to scrub away any stubborn residues, and be sure to rinse the tray thoroughly to remove all soap. Allow the crumb tray to dry completely before reinserting it into the toaster, as moisture can cause rusting or electrical issues.

3. Shake Out Loose Crumbs
Even with a crumb tray in place, some crumbs and debris can still become lodged inside the toaster's interior. To remove these, hold the toaster over a sink or trash can and gently shake it. Tilt the toaster at different angles to help dislodge crumbs from hard-to-reach areas. You may also gently tap the sides and back of the toaster to encourage stubborn crumbs to fall out. Be cautious not to shake the toaster too vigorously, as this could damage the internal components or knock the heating elements out of alignment. It's important to be thorough in this step, as lingering crumbs can lead to the issues mentioned earlier, such as uneven toasting or the risk of fire.
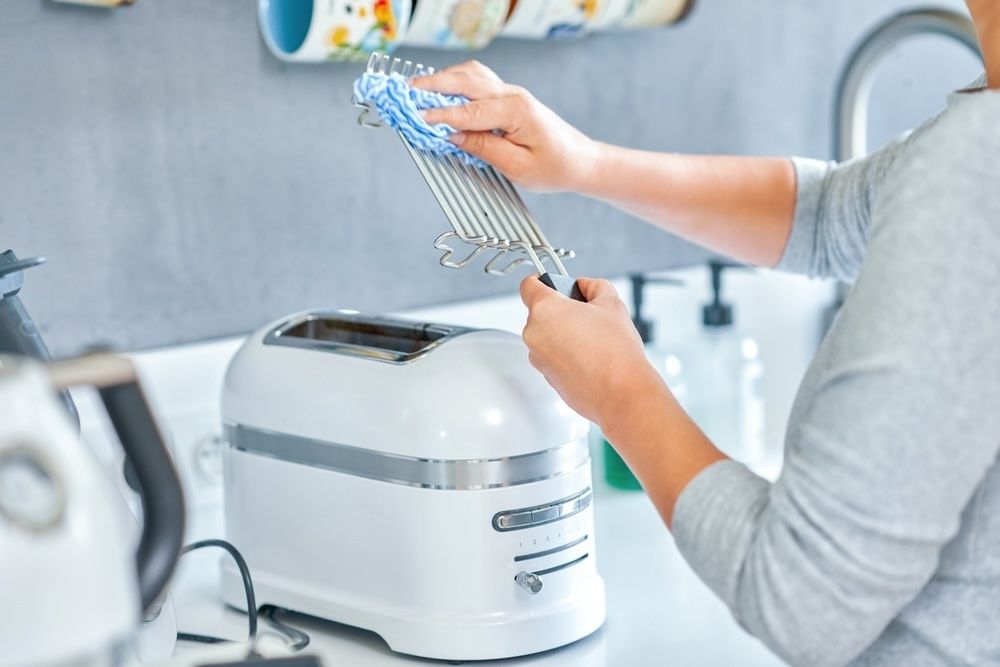
4. Clean the Interior
Once you've removed as many loose crumbs as possible, it's time to clean the interior of the toaster more thoroughly. For this step, you'll need a soft brush, such as a pastry brush or a dedicated toaster cleaning brush, which is specifically designed to reach inside the toaster without causing damage. Gently brush the interior walls, heating elements, and any other accessible parts to remove any remaining crumbs or residue. Take care not to use any metal or abrasive tools, as these could scratch the surfaces or damage the delicate heating elements. If there are any stubborn crumbs or debris that the brush cannot reach, consider using a handheld vacuum cleaner with a crevice attachment to carefully suction out the remaining particles. This will help ensure that your toaster is completely clean and ready for use.
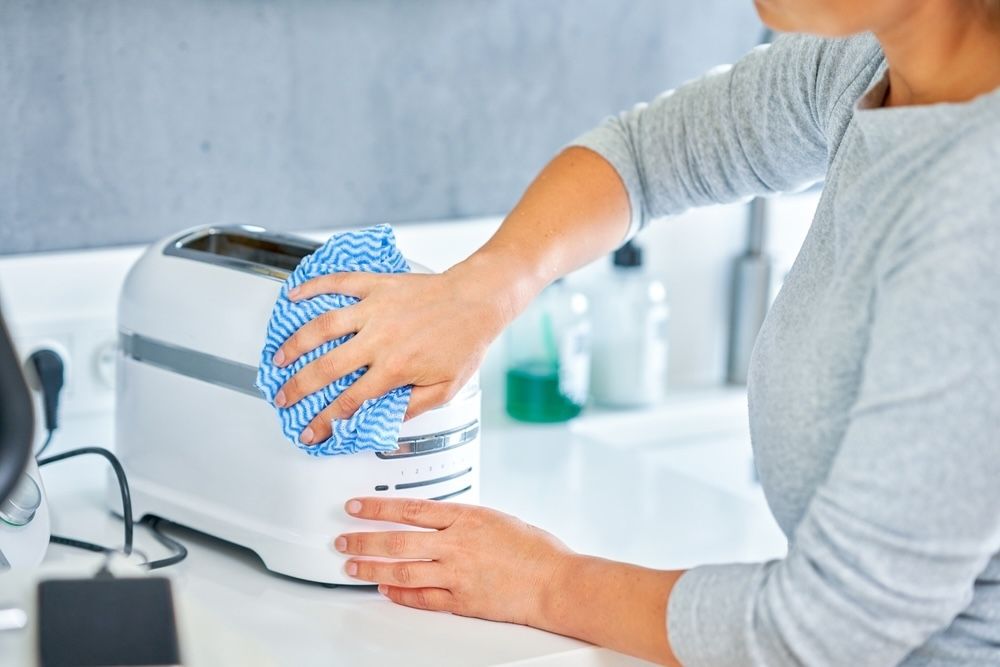
5. Wipe Down the Exterior
The exterior of your toaster can also accumulate grease, fingerprints, and dust, especially if it is located near the stovetop or used frequently. To clean the exterior, dampen a soft cloth with warm water and a mild detergent. Gently wipe down the entire surface of the toaster, paying special attention to any buttons, knobs, or levers, as these areas can harbor grime and bacteria. If your toaster has a stainless steel exterior, you may want to use a stainless steel cleaner to restore its shine and remove any streaks or smudges. Be sure to avoid getting water or cleaning solutions inside the toaster, as this could damage the electrical components or cause rusting. Once you've cleaned the exterior, dry it thoroughly with a soft, dry cloth to prevent water spots and maintain the toaster's appearance.
Tips for Maintaining Your Toaster
Empty the Crumb Tray Regularly: To keep your toaster functioning optimally, make it a habit to empty the crumb tray at least once a week. This simple task can prevent the buildup of crumbs that can lead to burning, smoking, or even fire hazards. Regularly emptying the crumb tray also ensures that your toaster produces evenly toasted bread every time.
Avoid Metal Objects: While it may be tempting to use a knife or fork to pry out a stuck piece of bread, doing so can damage the heating elements and create a safety hazard. Metal objects can also cause an electrical short, leading to a potential shock or fire. Instead, use non-metallic tools, such as wooden tongs or chopsticks, to gently dislodge any stuck items. If the toaster is still plugged in, never insert anything into the slots, as this could result in a serious injury.
Store Your Toaster Safely: When your toaster is not in use, it's a good idea to cover it with a dust cover or store it in a cupboard to prevent dust and debris from accumulating inside. Make sure the toaster is stored in a dry location, away from moisture and humidity, which can cause rusting or electrical issues. If you need to move the toaster, handle it carefully to avoid jarring the internal components.
Inspect the Toaster Regularly: Periodically inspect your toaster for signs of wear and tear, such as frayed cords, loose knobs, or damaged heating elements. If you notice any issues, it's best to have them repaired by a professional or consider replacing the toaster if the damage is severe. Using a damaged toaster can be dangerous, so it's important to address any problems promptly.
Use the Toaster Properly: Follow the manufacturer's instructions for using your toaster, including recommended settings and types of bread. Overloading the toaster with thick slices or using it for items that aren't designed to be toasted can lead to jams or uneven toasting. Proper usage helps maintain the toaster's performance and reduces the risk of damage.
Endnotes
Taking the time to regularly clean and maintain your toaster is a simple yet effective way to ensure that it continues to perform at its best. By following the detailed steps outlined in this guide, you can keep your toaster free of crumbs, grease, and other debris, preventing potential safety hazards and extending the life of the appliance. Additionally, adopting good habits, such as emptying the crumb tray regularly and avoiding the use of metal objects, will help you avoid common issues that can compromise your toaster's functionality. With proper care, your toaster will continue to deliver perfectly toasted bread, bagels, and pastries for years to come, making it a reliable and indispensable part of your kitchen.
This comprehensive and detailed article will fit perfectly into the "Appliance Care & Cleaning" section of your blog, offering readers valuable insights and practical advice for maintaining one of the most commonly used kitchen appliances. By focusing on the specifics of toaster maintenance, this article not only educates but also empowers readers to take better care of their appliances, ultimately enhancing their overall kitchen experience.
Topics
Check more articles on our blog

How do You Clean the Iron Soleplate at Home Without Much Effort?

Maintaining Your Washing Machine: Tips for Longevity and Efficiency
How to clean the oven without scrubbing?