The Importance of Cleaning Your Dryer Vent: An In-Depth Guide

Maintaining household appliances is an essential responsibility for any homeowner who values both the longevity and efficiency of their devices. While many people prioritize cleaning and maintaining more visible appliances like their refrigerators or ovens, there’s one critical task that often slips through the cracks: cleaning the dryer vent. This seemingly minor maintenance task is actually one of the most important steps you can take to ensure that your dryer operates at peak performance. Not only does it contribute to the overall efficiency of the appliance, but it also plays a significant role in mitigating serious safety risks, including the threat of fire. In this comprehensive guide, we will explore the vital importance of keeping your dryer vent clean, outline the potential risks of neglecting this duty, and provide you with a detailed, step-by-step guide to safely and effectively clean your dryer vent on your own.
Why Cleaning Your Dryer Vent Matters
Your dryer’s venting system is a critical component designed to expel hot air and moisture generated during the drying process from the dryer drum to the outside of your home. Over time, as you run load after load through your dryer, lint, dust, and small debris accumulate within the vent system. This buildup is more than just a minor inconvenience—it’s a major problem that can lead to a host of issues that affect not only your appliance’s performance but also your home’s safety and your wallet.
Reduced Efficiency
When lint and debris clog the dryer vent, it restricts the airflow necessary for the dryer to function optimally. This restricted airflow forces the dryer to work harder and longer to achieve the same drying results, which not only leads to increased wear and tear on the appliance but also results in longer drying times. Clothes that should take a single cycle to dry may require two or even three cycles, which is both frustrating and inefficient. The cumulative effect of this reduced efficiency is a significant increase in energy consumption, which translates to higher utility bills. Over time, this inefficiency can also cause components within the dryer to wear out faster, potentially leading to costly repairs or the need for a premature replacement of the appliance.
Increased Risk of Fire
Perhaps the most critical reason to keep your dryer vent clean is the prevention of dryer fires. According to data from the U.S. Fire Administration, failure to clean dryer vents is the leading cause of dryer fires in residential homes. Lint is composed of tiny fibers from fabrics that are highly flammable. As it builds up in the vent, it can easily ignite when exposed to the intense heat generated by the dryer. The risk is further exacerbated if the venting system becomes excessively clogged, as this can lead to overheating. A dryer fire can start suddenly and spread rapidly, putting your home and your family at serious risk. Regularly cleaning your dryer vent is one of the most effective ways to prevent this dangerous scenario from occurring.
Higher Energy Bills
As your dryer struggles to push air through a clogged vent, the appliance becomes less efficient, resulting in prolonged drying times and increased energy consumption. The longer the dryer runs, the more electricity or gas it uses, which directly impacts your utility bills. This seemingly small inefficiency can add up over time, resulting in a noticeable increase in your monthly energy costs. Additionally, because the dryer has to work harder, it experiences more wear and tear, which can shorten its lifespan and lead to more frequent repairs. In this way, failing to clean your dryer vent not only costs you more money in the short term due to higher energy bills but can also lead to expensive repairs or even the need to replace the appliance sooner than expected.
How Often Should You Clean Your Dryer Vent?
The frequency with which you should clean your dryer vent depends on several factors, each of which can influence how quickly lint and debris accumulate in the venting system. The type of dryer you have plays a role; for example, gas dryers tend to produce more lint than electric dryers, which may necessitate more frequent cleaning. How often you use your dryer is another significant factor—households that do laundry daily or frequently dry large, heavy loads (such as bedding or towels) will find that their vents become clogged more quickly than those in households with lighter usage. The length and configuration of the vent hose are also important considerations. Longer vent hoses or those with multiple bends and turns provide more opportunities for lint to get trapped and accumulate.
As a general rule, it is recommended that you clean your dryer vent at least once a year. However, if you notice signs that your dryer is not functioning as efficiently as it should—such as clothes taking longer to dry than usual, a musty odor in your clothes after drying, or the outside of the dryer becoming excessively hot to the touch—these may be indicators that the vent is clogged and needs to be cleaned sooner. In some cases, more frequent cleanings may be necessary, particularly if you have a large family or do a lot of laundry. By paying attention to these signs and scheduling regular cleanings, you can help ensure that your dryer remains in good working condition and reduce the risk of fire or other issues.
Step-by-Step Guide to Cleaning Your Dryer Vent
Cleaning your dryer vent is a task that most homeowners can tackle on their own with a bit of preparation and the right tools. Follow these steps to safely and effectively clean your dryer vent, and ensure that your appliance continues to function efficiently and safely:
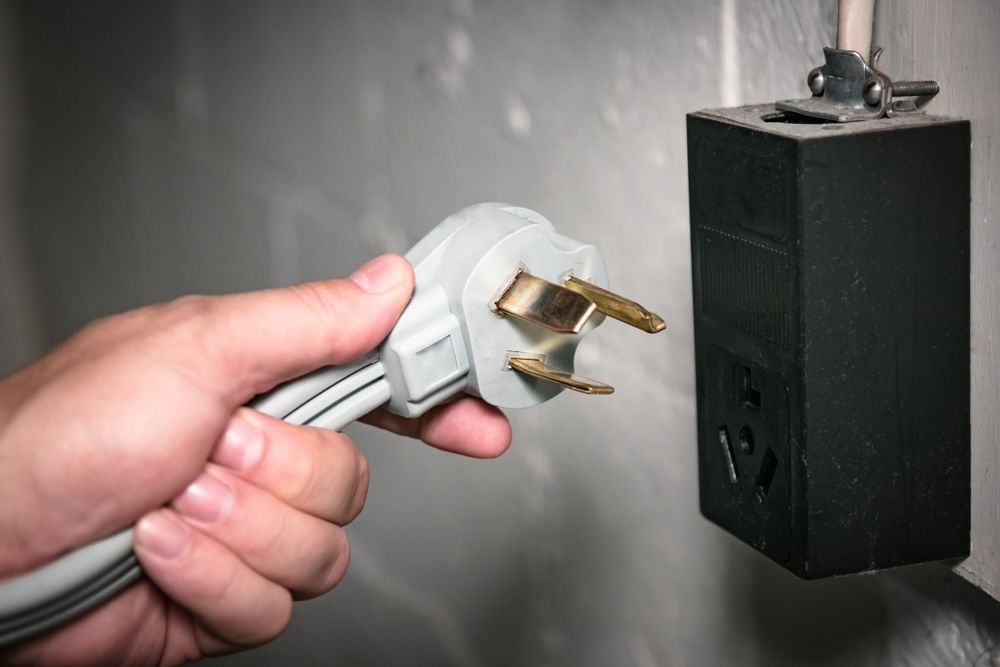
1. Unplug the Dryer
Safety should always be your priority when working with any electrical appliance. Before you begin cleaning the vent, make sure the dryer is unplugged from the electrical outlet to prevent any risk of electric shock. If you have a gas dryer, you should also turn off the gas supply to the appliance to prevent any leaks while you work.
2. Locate the Vent
The next step is to locate the vent system. On most dryers, the vent is located at the back of the appliance, where the vent hose connects to the dryer. You’ll also need to locate the exterior vent, which is where the venting system terminates on the outside of your home. This is typically a small, covered vent that may be located on the side of your house or the roof.

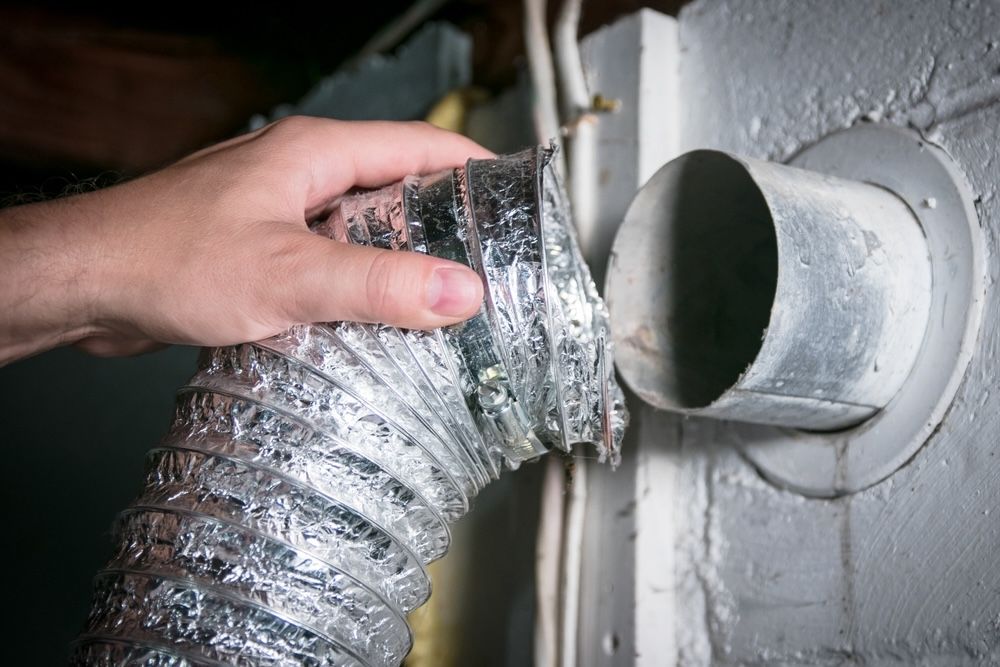
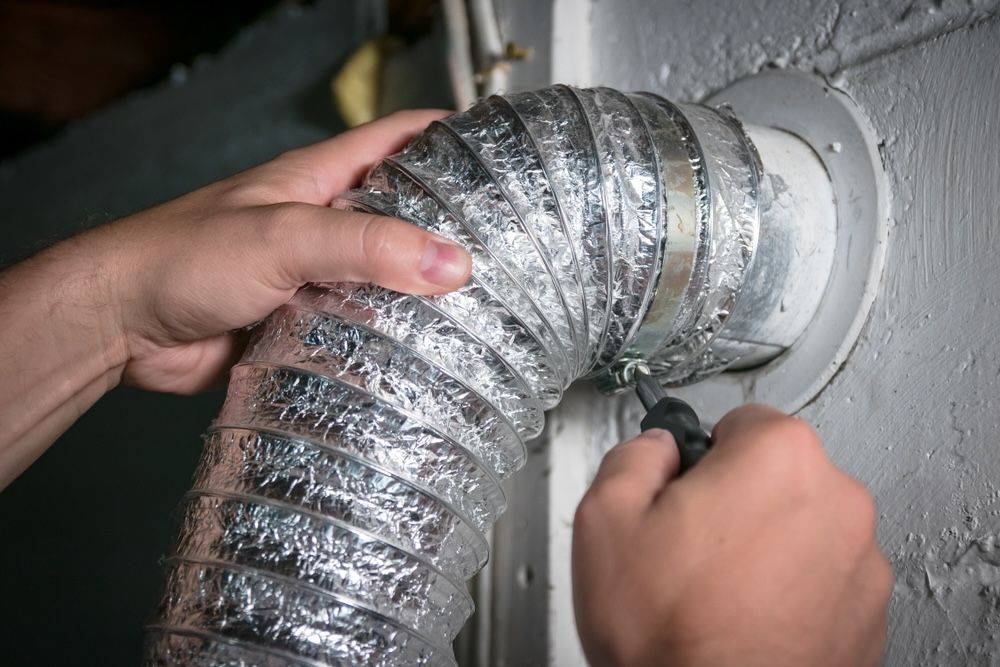
3. Detach the Vent Hose
Once you’ve located the vent, you’ll need to disconnect the vent hose from the back of the dryer. Depending on your dryer model, the hose may be attached with a clamp, screws, or simply pushed onto the vent. Use a screwdriver or pliers to loosen the clamp or screws, and carefully pull the hose away from the dryer. Be gentle as you do this to avoid damaging the hose or the vent.
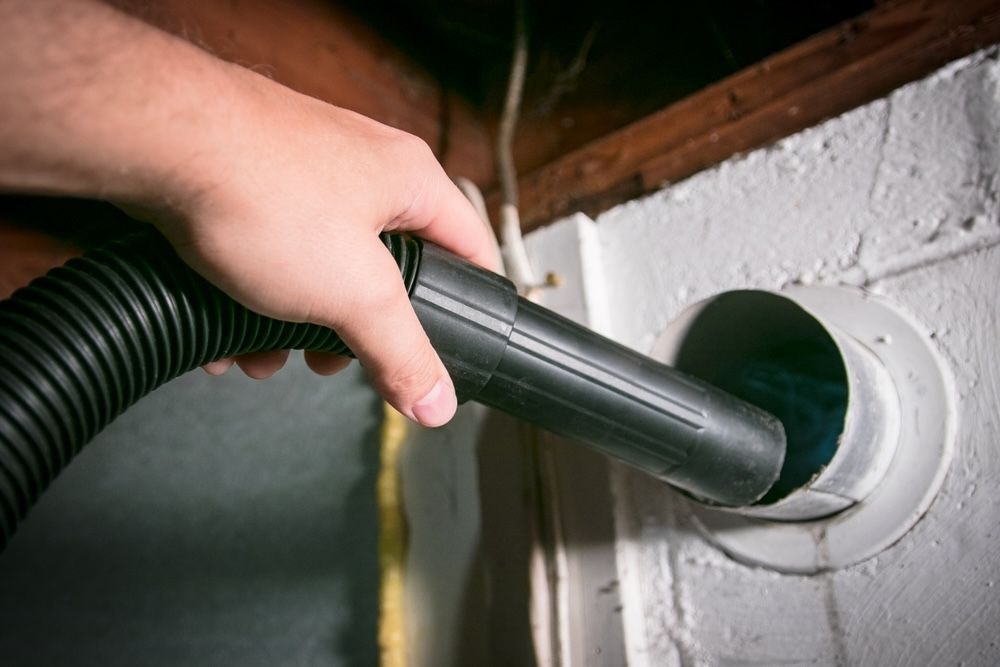
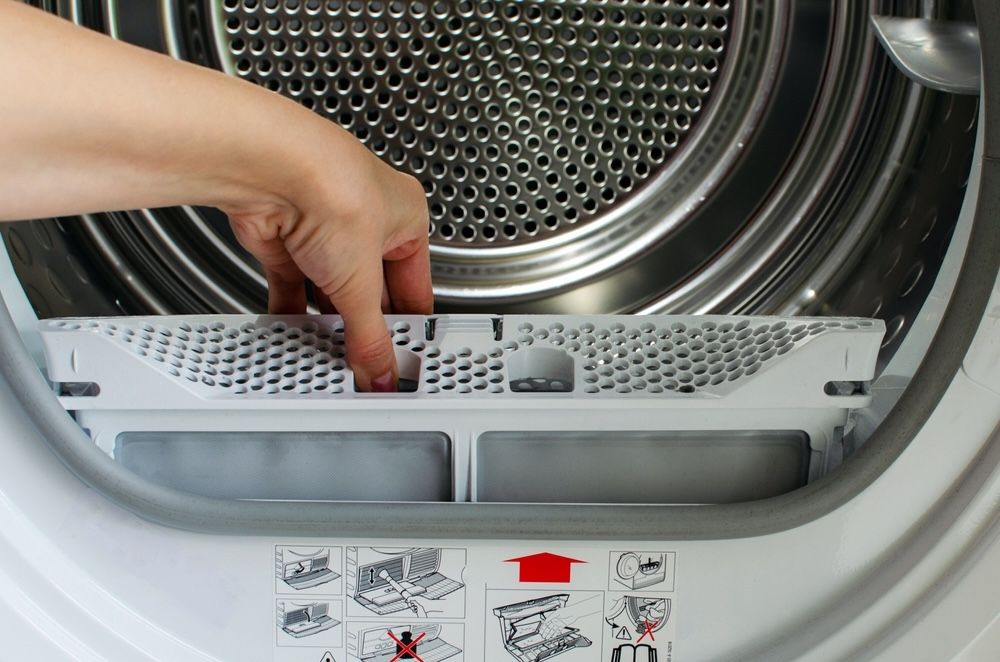
4. Vacuum the Vent
With the vent hose detached, you can begin cleaning the vent itself. A vacuum cleaner with a hose attachment is the best tool for this job, as it allows you to reach deep into the vent and remove lint, dust, and debris. Start by vacuuming out the vent hose, using the hose attachment to reach as far as possible. Next, vacuum the vent opening on the back of the dryer. For more thorough cleaning, you can use a specialized dryer vent brush, which is designed to navigate the twists and turns of the vent hose and remove even stubborn buildup.
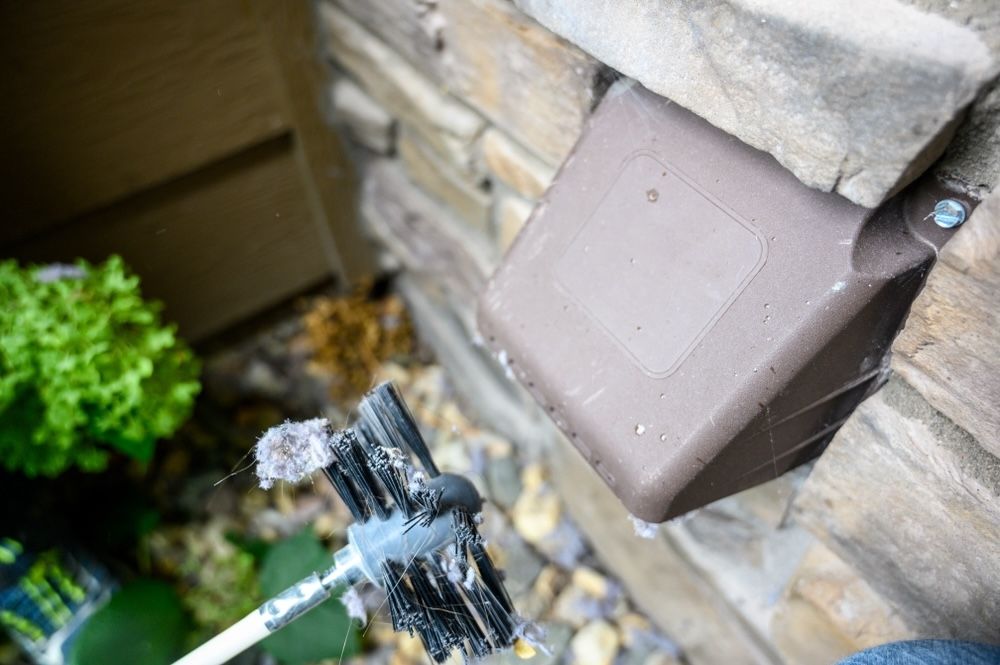
5. Check the Exterior Vent
After cleaning the interior portion of the vent, it’s important to check the exterior vent as well. Go outside to where the vent exits your home and inspect it for any debris, lint buildup, or obstructions. Remove any visible debris by hand, and ensure that the vent flap or cover is functioning properly. The flap should open easily when the dryer is in use and close tightly when it’s not, to prevent pests or debris from entering the vent.
6. Reattach the Vent Hose
Once you’ve finished cleaning both the interior and exterior portions of the vent, it’s time to reattach the vent hose to the back of the dryer. Position the hose over the vent opening, and secure it with the clamp or screws you removed earlier. Make sure the connection is tight and secure to prevent any air leaks. If the vent hose is damaged or excessively worn, consider replacing it with a new one to ensure optimal performance.
7. Test the Dryer
With everything reattached and in place, plug the dryer back into the electrical outlet and turn on the gas supply if you have a gas dryer. Run the dryer on a short cycle to test the venting system and ensure that everything is working correctly. Listen for any unusual noises, and check the exterior vent to confirm that air is flowing freely. If you notice any issues, double-check the vent hose connection and clean the vent again if necessary.
Conclusion
Cleaning your dryer vent is a simple yet vital task that can save you money, extend the life of your appliance, and, most importantly, keep your home safe from the risk of fire. By following the steps outlined in this comprehensive guide, you can ensure that your dryer operates efficiently and without risk of overheating or malfunction. Regular maintenance of your dryer vent should be a part of your overall home care routine, along with other essential tasks like cleaning your refrigerator coils or descaling your coffee maker. Not only will this help you avoid costly repairs and extend the life of your appliances, but it will also provide you with peace of mind knowing that you’ve taken the necessary steps to protect your home and your family. So, the next time you load up the dryer, remember the importance of keeping that vent clean—and enjoy the benefits of a well-functioning appliance for years to come.
Check more articles on our blog

How To Clean Stainless Steel Appliances With Natural Ingredients?
5 Easy Ways to Prevent Plumbing Problems at Home
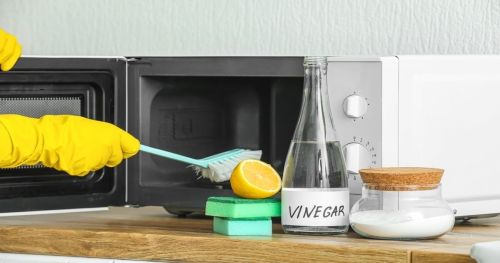
How to Clean and Maintain Your Microwave